Are you prepared for emergencies in the wild?
When you are out in the wild, whether for a camping trip or a hiking adventure, being prepared for emergencies is crucial. One important skill to have in your toolkit is survival sewing. Knowing how to repair your gear and clothing in the wild can make a huge difference in your overall comfort and safety. In this article, we will explore the basics of survival sewing and provide you with helpful tips and tricks to get you started.

What is survival sewing?
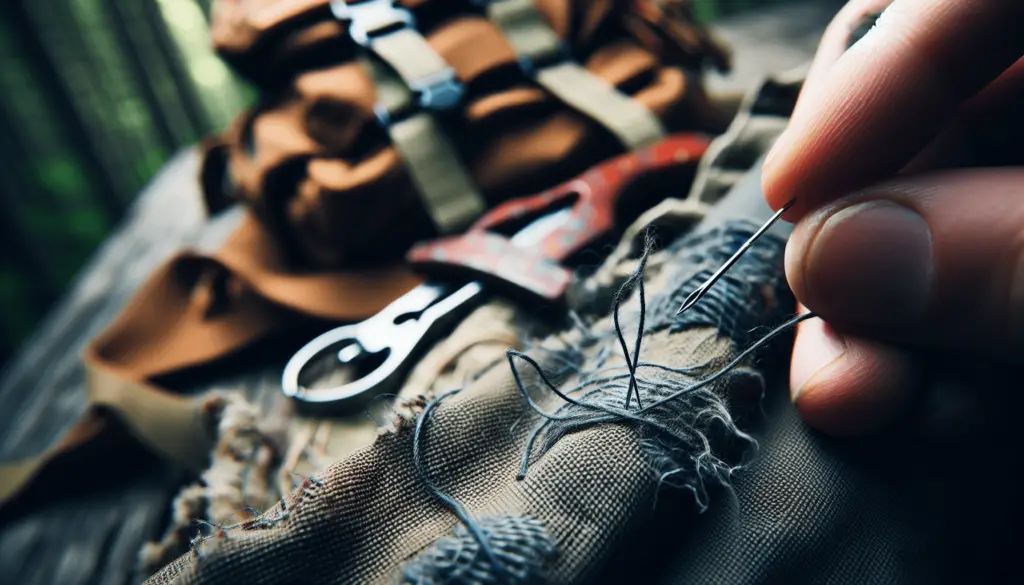
Survival sewing is the art of using basic sewing techniques to repair gear and clothing in emergency situations. Whether you have a tear in your tent, a rip in your jacket, or a busted backpack strap, being able to mend these items on the spot can prevent further damage and keep you safe and comfortable in the wild.
Understanding the importance of survival sewing
Having the skills and knowledge to perform survival sewing can be a game-changer when you find yourself in a tough spot outdoors. It can mean the difference between continuing your adventure with confidence or having to cut it short due to gear or clothing failure. By being prepared and knowing how to repair your essentials on the go, you can increase your chances of staying safe and comfortable in the wild.
Essential tools and materials for survival sewing
Before you head out on your next outdoor excursion, make sure you have the following tools and materials to perform survival sewing:
Needle and Thread
Carry a selection of needles and strong thread in different colors to match the gear and clothing you’ll be repairing. Needles with larger eyes are easier to thread, especially in low-light conditions or when you are wearing gloves.
Fabric Patches
Pack a few fabric patches in different sizes and colors. These patches can be used to reinforce weak spots or cover up larger tears in your gear and clothing.
Safety Pins
Safety pins are versatile tools that can be used to hold fabric in place while you sew, or to create temporary closures for clothing or gear that have broken zippers or buttons.
Small Scissors
Invest in a pair of small, sharp scissors that can easily cut through fabric and thread. Look for scissors with a protective cover to prevent accidental cuts when not in use.
Seam Ripper
A seam ripper is a handy tool for removing stitches quickly and easily. This can be useful when you need to undo a repair or alter the fit of your clothing or gear.
Thimble
Protect your fingers from needle pricks by using a thimble when sewing through tough or thick fabrics. Look for a thimble that fits comfortably on your finger and provides good grip.
Basic sewing techniques for survival sewing
Now that you have gathered your tools and materials, it’s time to learn some basic sewing techniques that will come in handy during emergencies in the wild. Here are a few essential stitches and repairs to master:
Running Stitch
The running stitch is one of the most basic and versatile hand stitches. It is used for joining two pieces of fabric together quickly and securely. To execute a running stitch, simply pass the needle up and down through the fabric in a straight line, spacing the stitches evenly.
Backstitch
The backstitch is a stronger and more durable stitch that is ideal for repairing seams or stitching patches onto fabric. To perform a backstitch, bring the needle up through the fabric, then back over the last stitch to create a continuous line of stitches.
Patching Holes
When patching a hole in your gear or clothing, start by placing a fabric patch on the inside of the item to cover the hole. Use a running or backstitch to secure the patch in place, making sure to stitch along the edges for added reinforcement.
Sewing on Buttons
If a button falls off your clothing or gear, use a needle and thread to sew it back on securely. Start by anchoring the thread on the inside of the fabric, then sew through the buttonholes multiple times to ensure a strong hold.
Tips for success in survival sewing
To make your survival sewing efforts more effective and efficient, keep these tips in mind:
Practice Before You Need It
Before heading out into the wild, take some time to practice your sewing skills at home. This will help you feel more confident and prepared when you have to mend gear or clothing in an emergency.
Keep Your Kit Organized
Store your sewing tools and materials in a compact, waterproof container to keep them organized and easily accessible. Consider labeling each item or compartment for quick identification.
Double Up on Supplies
To ensure you have enough thread, needles, and other essentials, pack extra supplies in your sewing kit. Running out of materials in the middle of a repair can be frustrating and potentially leave you in a precarious situation.
Learn from Others
If you are new to sewing or want to improve your skills, consider taking a sewing class or watching online tutorials. Learning from experienced sewers can provide you with valuable tips and techniques to enhance your survival sewing abilities.

Conclusion
Survival sewing is a valuable skill that can make a significant difference in your outdoor adventures. By knowing how to repair your gear and clothing in the wild, you can stay safe, comfortable, and prepared for whatever challenges come your way. Remember to pack the essential tools and materials, practice basic sewing techniques, and keep these tips in mind to succeed in survival sewing. So, next time you head into the wild, make sure you have your sewing kit ready to tackle any emergency repairs with confidence.
