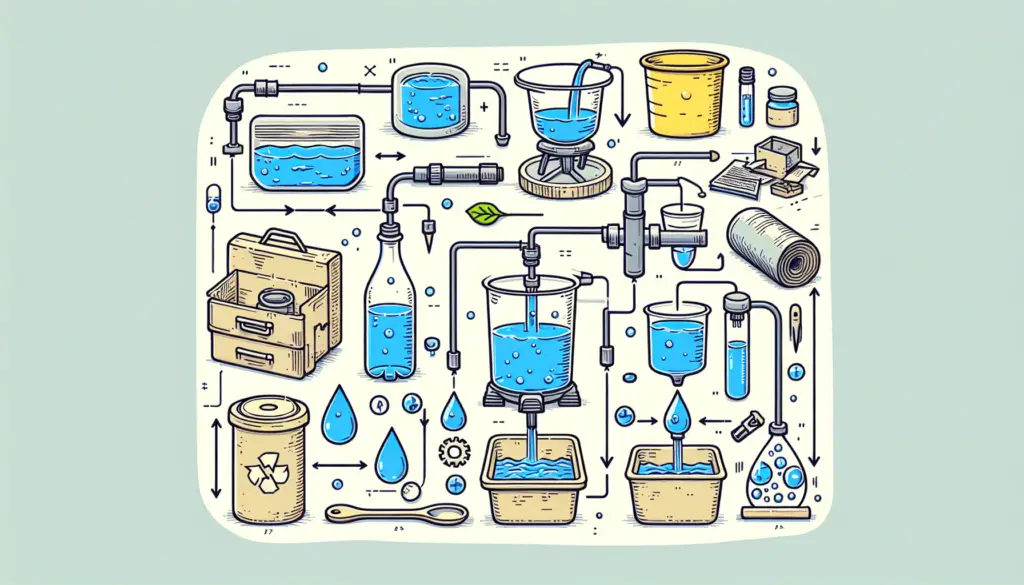
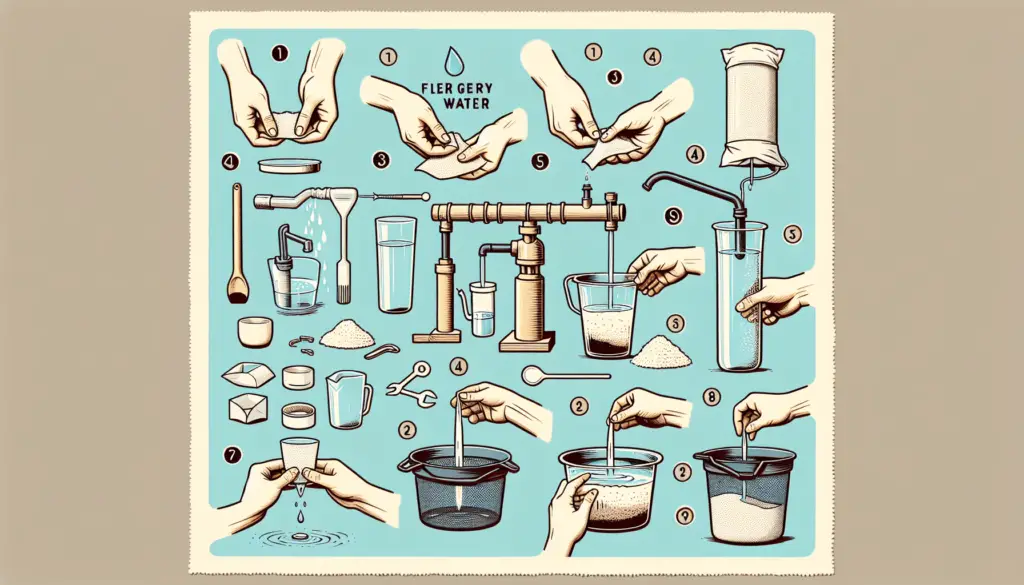
In times of emergency or while exploring the great outdoors, having access to clean water is crucial for your health and survival. But what if you find yourself in a situation where clean water is scarce? Fear not, because in this article, we will guide you through the simple yet effective process of creating your own emergency water filter. With just a few easily accessible materials and some basic knowledge, you’ll be able to purify water and ensure it’s safe for drinking. So let’s get started on this life-saving DIY project!

Gather the necessary materials
To create your own emergency water filter, you will need a few essential materials. Make sure you have a plastic bottle or container available. You can use an empty water or soda bottle for this purpose. Additionally, you will need a pair of scissors or a knife to cut the bottle. Other materials include activated charcoal, sand or gravel, a coffee filter or cloth, and a rubber band or string. These items will be the building blocks of your emergency water filter, so gather them all before starting the process.
Prepare the container
Before you can start assembling the filter, you need to prepare the plastic bottle. Begin by removing the label and the cap from the bottle. This will ensure that no unwanted substances interfere with the filtration process. Next, safely cut off the bottom of the bottle. This will create an opening for water to flow into and through the filter.
Layer the filtration materials
Now that your container is ready, it’s time to layer the filtration materials inside the bottle. Start by placing a layer of activated charcoal on top of the cut bottle. The activated charcoal will help absorb impurities and chemicals from the water. After the charcoal layer, add a layer of sand or gravel. This layer will act as a physical barrier, trapping larger particles and further purifying the water. Repeat the process by adding another layer of activated charcoal, followed by more sand or gravel. Layering these materials will enhance the filtration effectiveness of your homemade water filter.
Create the filtration medium
To create the filtration medium through which the water will pass, you need to cut a coffee filter or a piece of cloth slightly larger than the cut bottle opening. This will prevent any particles from escaping the filter. Attach the coffee filter or cloth securely to the bottle opening using a rubber band or string. Ensure that it is tightly fitted, leaving no gaps for unfiltered water to bypass the filter. This filtration medium will play a crucial role in trapping smaller impurities and purifying the water further.

Test the water filtration
Now that you have assembled your emergency water filter, it’s time to put it to the test. Fill the plastic bottle with dirty water, ensuring that it doesn’t overflow. Observe the filtration process as the water moves through the layers of charcoal, sand, and the filtration medium. You will notice how the filter captures sediments and impurities, leaving you with cleaner water. It’s important to be patient during this step as the filtration process may take some time to complete.
Collect the filtered water
Once the water has passed through the filter and accumulated at the bottom of the container, it’s time to collect the filtered water. Place a clean container under the filtered water outlet, where it drips out of the bottle. This clean container will now hold the purified water that is safe for consumption. Allow the water to slowly drip into the container, ensuring not to disturb the filter or contaminate the filtered water in the process.
Boil or purify the filtered water
While the filtration process significantly reduces the number of contaminants in the water, it’s still essential to take additional steps to ensure its safety. One effective method is to boil the filtered water. Boiling water kills most microorganisms that may still be present, making it safe for consumption. Alternatively, you can also use water purification tablets or other purification methods recommended for emergency situations. Be sure to follow the instructions provided with these products to achieve optimal results.
Maintain and clean the filter
To ensure that your emergency water filter continues to perform effectively, it’s crucial to regularly check and replace the layers of activated charcoal. Over time, the charcoal may become saturated and lose its ability to absorb impurities. By periodically replacing the activated charcoal layers, you can maintain the efficiency of your filter. Additionally, it’s essential to clean the filter components with clean water to remove any accumulated dirt or debris. This will prevent clogging and maintain the filter’s functionality.
Consider additional purification methods
While your homemade water filter is a convenient emergency solution, it’s important to remember that it may not remove all types of contaminants. To further enhance the safety of your water, consider additional purification methods. Solar disinfection is an excellent option when available. Simply leave the filtered water in clear plastic bottles under direct sunlight for several hours. The heat and UV rays will help destroy remaining microorganisms. Chemical disinfection is another option, using chlorine or iodine tablets according to the instructions provided. These methods can provide extra peace of mind in emergency situations.
Remember the limitations
It’s essential to understand the limitations of homemade water filters. While they can effectively remove many contaminants, certain microorganisms and viruses may still be present in the filtered water. Therefore, in situations where access to professionally purified or bottled water is possible, it is always recommended to prioritize those sources. Homemade filters are best used for short-term or emergency scenarios. Remember that water is vital for survival, so always prioritize your health and safety by ensuring access to the cleanest water possible.
