Have you ever found yourself in a situation where your vehicle broke down unexpectedly, leaving you stranded on the side of the road? In times of emergency, having the right tools and knowledge to perform basic repairs can be a lifesaver. This article will guide you through the essential tools and techniques needed for emergency vehicle repairs, so you can be better prepared for any roadside mishap.
Importance of Being Prepared
It’s easy to underestimate the importance of being prepared for emergency situations until you find yourself in one. Having the necessary tools and skills to perform basic repairs on your vehicle can save you time, money, and frustration when faced with unexpected breakdowns. By familiarizing yourself with the tools and techniques outlined in this article, you can feel more confident and self-reliant in handling emergency vehicle repairs.
Taking Control of the Situation
When your vehicle breaks down in the middle of nowhere, it’s easy to feel overwhelmed and helpless. However, having a basic understanding of vehicle mechanics and the right tools at your disposal can help you take control of the situation. By being proactive and prepared, you can troubleshoot the issue, make necessary repairs, and get back on the road in no time.
Essential Tools for Emergency Vehicle Repairs
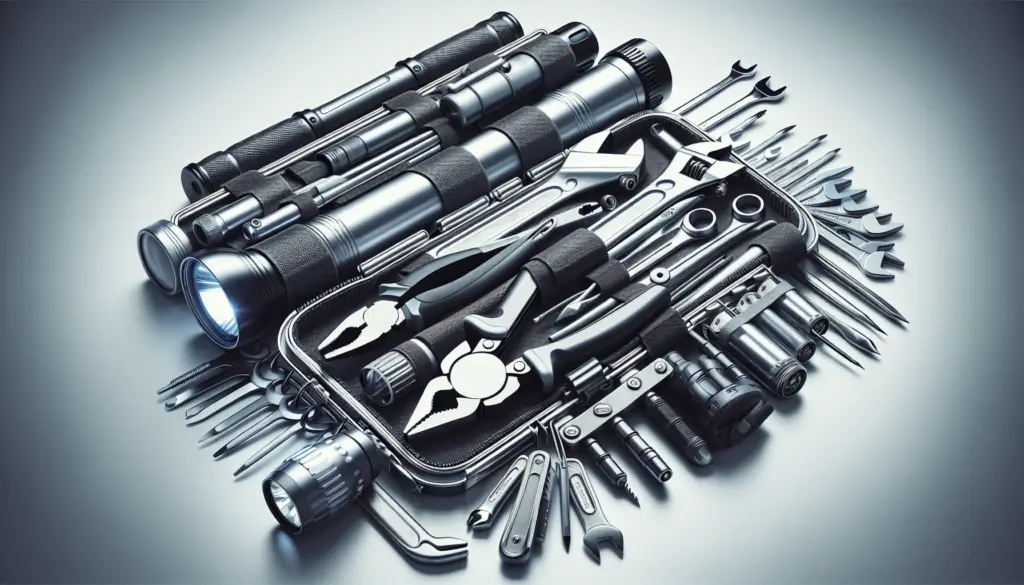
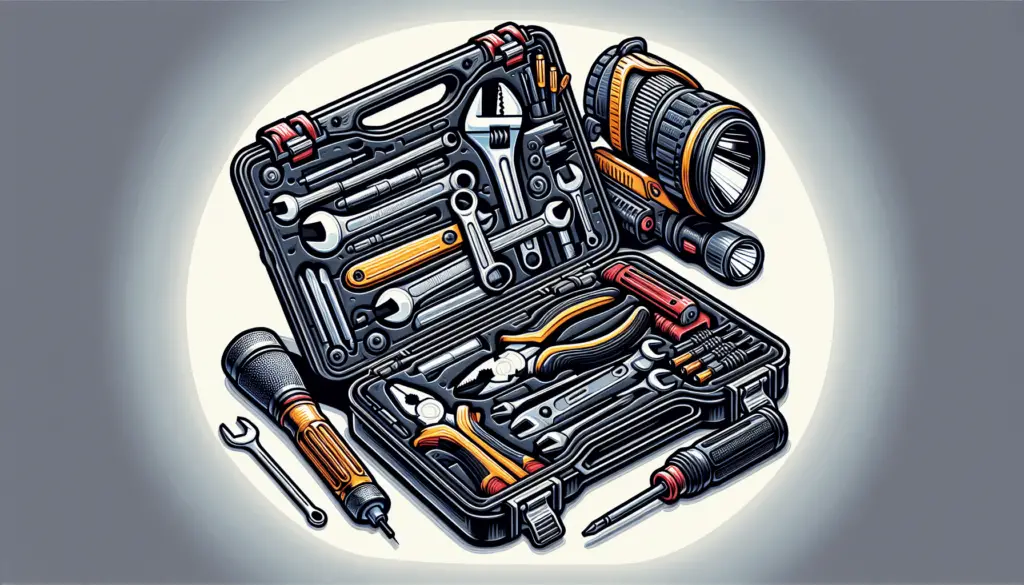
Before you hit the road, make sure your vehicle’s emergency repair kit is fully stocked with the following essential tools:
| Tool | Description |
|---|---|
| Lug Wrench | Used to loosen and tighten lug nuts when changing a tire. |
| Jack | A hydraulic jack for lifting your vehicle off the ground to remove and replace a flat tire. |
| Jumper Cables | Used to jump-start a dead battery by connecting it to another vehicle’s battery. |
| Screwdriver Set | A set of Phillips and flathead screwdrivers for various repairs. |
| Pliers | Used for gripping, twisting, and cutting wires and other materials. |
| Adjustable Wrench | A versatile tool for tightening or loosening nuts and bolts of different sizes. |
| Tire Pressure Gauge | Measures the air pressure in your tires to ensure they are properly inflated. |
| Flashlight | Provides illumination when working on your vehicle in low-light conditions. |
| Duct Tape | A versatile adhesive tape for temporary fixes on various parts of your vehicle. |
| First Aid Kit | Contains essential supplies for treating minor injuries and medical emergencies. |
Importance of Having a Well-Stocked Toolbox
A well-stocked toolbox can be a lifesaver when faced with unexpected vehicle troubles. By ensuring you have all the essential tools mentioned above in your emergency repair kit, you can tackle common mechanical issues and perform basic repairs on the spot. Remember, it’s better to be overprepared than underprepared when it comes to emergency vehicle repairs.

Basic Techniques for Emergency Vehicle Repairs
In addition to having the right tools, knowing how to perform basic repair techniques is essential for addressing common issues that may occur while on the road. Below are some basic techniques you should familiarize yourself with:
Changing a Flat Tire
- Park Safely: Find a level, safe area to park your vehicle away from traffic.
- Secure Vehicle: Engage the parking brake and place wheel chocks behind the tires.
- Loosen Lug Nuts: Use the lug wrench to loosen the lug nuts before lifting the vehicle.
- Lift Vehicle: Position the jack under the designated lift point and raise the vehicle off the ground.
- Remove Flat Tire: Unscrew the lug nuts and remove the flat tire from the wheel hub.
- Install Spare Tire: Place the spare tire onto the wheel hub and secure it with the lug nuts.
- Lower Vehicle: Carefully lower the vehicle back to the ground and tighten the lug nuts.
- Double-Check: Ensure all lug nuts are securely tightened before driving.
Jump-Starting a Dead Battery
- Position Vehicles: Park the working vehicle nose-to-nose with the vehicle with the dead battery.
- Connect Jumper Cables: Attach the red clamp to the positive terminal of the dead battery and the other red clamp to the positive terminal of the working battery. Then, connect the black clamp to the negative terminal of the working battery (or unpainted metal surface) and the other black clamp to the engine block of the vehicle with the dead battery.
- Start Working Vehicle: Start the working vehicle and let it run for a few minutes to charge the dead battery.
- Start Dead Vehicle: Attempt to start the vehicle with the dead battery. If it doesn’t start, check the connections and try again.
- Remove Cables: Once the dead vehicle starts, remove the jumper cables in the reverse order of connection.
Checking and Topping Off Fluids
- Locate Fluid Reservoirs: Identify the locations of the engine oil, coolant, brake fluid, power steering fluid, and windshield washer fluid reservoirs under the hood.
- Check Fluid Levels: Use the appropriate dipstick or sight glass to check the fluid levels in each reservoir. Add more fluid as needed to reach the recommended level.
- Inspect for Leaks: Look for any signs of leaks or abnormalities around the reservoirs that may indicate a fluid leak.
- Top Off as Needed: Always keep extra bottles of essential fluids (such as engine oil and coolant) in your vehicle in case you need to top off on the road.
Temporary Fixes with Duct Tape
Duct tape is a versatile tool that can be used for temporary fixes on various parts of your vehicle. Whether it’s securing broken parts, patching up hoses, or sealing leaks, duct tape can be a lifesaver in emergency situations. Just remember that duct tape is not a permanent solution, so make sure to seek proper repairs as soon as possible.
Emergency Response and Safety Tips
In addition to knowing how to perform basic repair techniques, it’s important to prioritize your safety and the safety of others when your vehicle breaks down. Here are some emergency response and safety tips to keep in mind:
- Pull Over Safely: If your vehicle breaks down while driving, safely pull over to the side of the road or onto the shoulder to avoid blocking traffic.
- Turn on Hazard Lights: Activate your hazard lights to signal to other drivers that your vehicle is disabled. Use reflective triangles or flares if you have them.
- Stay Inside: If you’re unable to move your vehicle off the road, stay inside with your seatbelt on until help arrives to avoid accidents.
- Call for Help: Use your cellphone to call for roadside assistance, a tow truck, or emergency services if needed. Provide your location and details of the issue.
- Stay Visible: If it’s safe to do so, place reflective markers or indicators around your vehicle to increase visibility, especially at night.
- Stay Calm: Remember to stay calm, assess the situation, and follow safety protocols while awaiting assistance.
In Conclusion
Preparing for emergency vehicle repairs involves more than just having the right tools – it also requires knowledge of basic repair techniques and a commitment to safety. By familiarizing yourself with the essential tools and techniques outlined in this article, you can be better prepared to handle unexpected breakdowns and get back on the road with confidence. Remember, a well-stocked emergency repair kit and a basic understanding of vehicle mechanics can make all the difference in times of need. Stay safe, stay prepared, and happy travels!

